Automated Installer Deployment
The automated enterprise installer provides the most streamlined deployment experience with comprehensive system integration capabilities, making it the recommended method for production environments.
Installer Overview
Enterprise Installer Features
The Intrudex-Client-Setup.exe installer provides complete automation for enterprise deployments with built-in security configurations, service registration, and mass deployment capabilities.
Key Features
- Automated Dependency Resolution: Automatically handles all required dependencies
- Windows Service Registration: Configures and registers the client as a Windows service
- Enterprise Security Configuration: Applies enterprise security policies automatically
- Registry Integration: Proper registry entries for system integration
- Silent Installation Support: Command-line options for mass deployment
- Comprehensive Uninstallation: Complete removal capability when needed
System Requirements
Minimum Technical Specifications
- Operating System: Windows 10 Build 1809+ / Windows Server 2016+
- Memory: 100 MB RAM available
- Storage: 50 MB free disk space
- Network: HTTPS connectivity to Intrudex Server
- Privileges: Administrative rights required
Enterprise Environment Prerequisites
- Group Policy: Configure software installation policies (if applicable)
- Antivirus Exclusions: Add Intrudex installation directory to exclusions
- Certificate Validation: Verify digital signature validation is enabled
- Network Access: Ensure access to GitHub releases and Intrudex Server
Installation Process
Step 1: Installer Acquisition
Download the latest enterprise installer from the official repository:
- Navigate to GitHub Releases
- Locate the latest stable release
- Download
Intrudex-Client-Setup.exe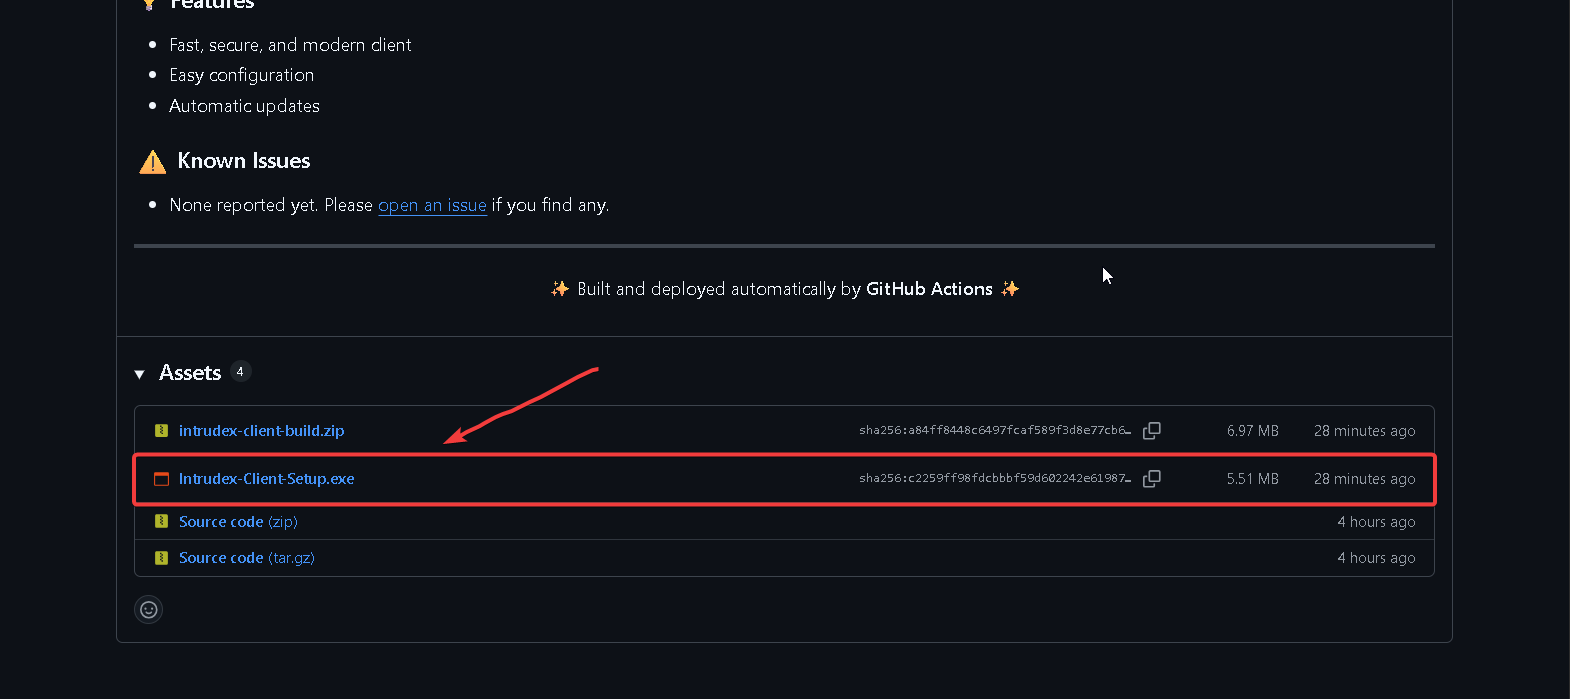
- Verify digital signature (recommended for security compliance)
Step 2: Digital Signature Verification
Security Best Practice
Always verify the digital signature before executing the installer in production environments.
- Right-click
Intrudex-Client-Setup.exe - Select Properties
- Navigate to Digital Signatures tab
- Verify the signature is valid and from trusted publisher
# Verify digital signature
Get-AuthenticodeSignature -FilePath "Intrudex-Client-Setup.exe"

# Expected output should show:
# Status: Valid
# SignerCertificate: [Certificate details]
Step 3: Interactive Installation
For standard desktop deployments with user interaction:
- Execute
Intrudex-Client-Setup.exewith administrative privileges - Follow the installation wizard prompts
- Configure server connection settings when prompted
- Complete the installation process
Installation Wizard Steps
flowchart TD
    A[Launch Installer] --> B[Administrator Privileges Check]
    B --> C[Welcome Screen]
    C --> D[License Agreement]
    D --> E[Installation Directory Selection]
    E --> F[Server Configuration]
    F --> G[Service Configuration]
    G --> H[Installation Progress]
    H --> I[Completion Screen]

    style A fill:#3498db
    style I fill:#27ae60
flowchart TD
A[Launch Installer] --> B[Administrator Privileges Check]
B --> C[Welcome Screen]
C --> D[License Agreement]
D --> E[Installation Directory Selection]
E --> F[Server Configuration]
F --> G[Service Configuration]
G --> H[Installation Progress]
H --> I[Completion Screen]
style A fill:#3498db
style I fill:#27ae60Post-Installation Verification
Service Verification
Verify the Intrudex Client service is properly installed and running:
# Check service status
Get-Service -Name "IntrudexClient"

# Expected output:
# Status: Running
# Name: IntrudexClient
# DisplayName: Intrudex Security Monitoring Client

# View service configuration
sc query IntrudexClient
sc qc IntrudexClient
Installation Verification
Verify the client installation and configuration:
# Navigate to installation directory
cd "C:\Program Files\Intrudex"

# Check client status
intrudex-client.exe --status

# Perform health check
intrudex-client.exe --check-health

# View version information
intrudex-client.exe --version
Network Connectivity Test
Verify connectivity to the Intrudex Server:
# Test HTTPS connectivity to server
Test-NetConnection -ComputerName "your-server.domain.com" -Port 80

# Verify API endpoint accessibility
Invoke-WebRequest -Uri "https://your-server.domain.com/api -UseBasicParsing
Configuration
Server Connection Configuration
After installation, configure the connection to your Intrudex Server:
- Navigate to the installation directory
- Edit
config\client_config.json - Configure server connection parameters:
{
  "sysmon_exe_path": "assets/Sysmon64.exe",
  "sysmon_config_path": "config/sysmonconfig-export.xml",
  "sysmon_url": "http://your-server.domain.com/api/logs/sysmon/",
  "application_url": "https://your-server.domain.com/api/logs/application",
  "security_url": "http://your-server.domain.com/api/logs/security",
  "system_url": "http://your-server.domain.com/api/logs/system",
  "system_event_log_source": "System",
  "application_log_source": "Application",
  "security_event_log_source": "Security",
  "event_log_source": "Microsoft-Windows-Sysmon/Operational",
  "event_filter": "*[System[(Level=4 or Level=0)]]",
  "sleep_interval_ms": 1000,
  "log_level": "debug",
  "send_events": true,

  "http_config": {
    "user_agent": "Intrudex Client/1.0",
    "content_type": "application/xml",
    "use_https": false
  },
  "default_flag": "background",
  "sigma_url": "http://your-server.domain.com/api/logs/sigma",
  "sigma_event_log_source": "Security",
  "sigma_event_filter": "*[System[(Level=4 or Level=0)]]",
  "sigma_sleep_interval_ms": 1000,
  "sigma_log_level": "info",
  "sigma_rules_dir": "rules/sigma/",
  "sigma_config_path": "config/sigma_config.json"
}
config\sigma_config.json
{
  "api_base_url": "http://localhost/sigma/api",
  "headers": {
    "X-API-Key": "<Your-API-KEY>",
    "Authorization": "<Your-API-KEY>",
    "Accept": "application/json"
  }
}
Service Configuration
Configure the Windows service parameters:
# Set service to start automatically
sc config IntrudexClient start=auto

# Set service recovery options
sc failure IntrudexClient reset=86400 actions=restart/5000/restart/5000/restart/5000

# Set service description
sc description IntrudexClient "Intrudex Enterprise Security Monitoring Client Agent"
Troubleshooting
Common Installation Issues
Installer Won't Start
Symptom: Double-clicking installer shows no response
Resolution: 1. Verify administrative privileges 2. Check Windows Event Logs for errors 3. Disable antivirus temporarily during installation 4. Verify installer file integrity
Installation Fails with Error Code
Symptom: Installation terminates with error code
Resolution:
1. Run installer with /LOG="C:\temp\install.log" parameter
2. Review installation log for specific errors
3. Ensure sufficient disk space available
4. Verify Windows Installer service is running
Service Won't Start After Installation
Symptom: Intrudex Client service fails to start
Resolution: 1. Check Windows Event Logs for service errors 2. Verify configuration file syntax 3. Test network connectivity to server 4. Ensure proper file permissions on installation directory
Uninstallation
Standard Uninstallation
Remove the Intrudex Client using standard Windows methods:
- Open Control Panel → Programs and Features
- Locate "Intrudex Client" in the program list
- Select and click "Uninstall"
- Follow the uninstallation wizard prompts
Silent Uninstallation
For automated uninstallation in enterprise environments:
# Find uninstall string from registry
$UninstallPath = Get-ItemProperty "HKLM:\SOFTWARE\Microsoft\Windows\CurrentVersion\Uninstall\*" |
    Where-Object {$_.DisplayName -like "*Intrudex*"} |
    Select-Object -ExpandProperty UninstallString

# Execute silent uninstallation
Start-Process -FilePath $UninstallPath -ArgumentList "/S" -Wait
Manual Cleanup (If Required)
If standard uninstallation fails, perform manual cleanup:
# Stop service
Stop-Service -Name "Intrudex-Client" -Force

# Remove service
sc delete Intrudex-Client

# Remove installation directory
Remove-Item -Path "C:\Program Files\Intrudex" -Recurse -Force

# Clean registry entries
Remove-Item -Path "HKLM:\SOFTWARE\Intrudex" -Recurse -Force